
Time for another Elephant In My Handbag tutorial. In fact, we have two EIMH tutorials for you this month, both using the most amazing fabric which up until a couple of months ago, I didn’t know existed – Chalkboard fabric! That’s right, it’s fabric that has a special black coating on it that acts like chalkboard! It really is so amazing, and very easy to work with and even sew with.
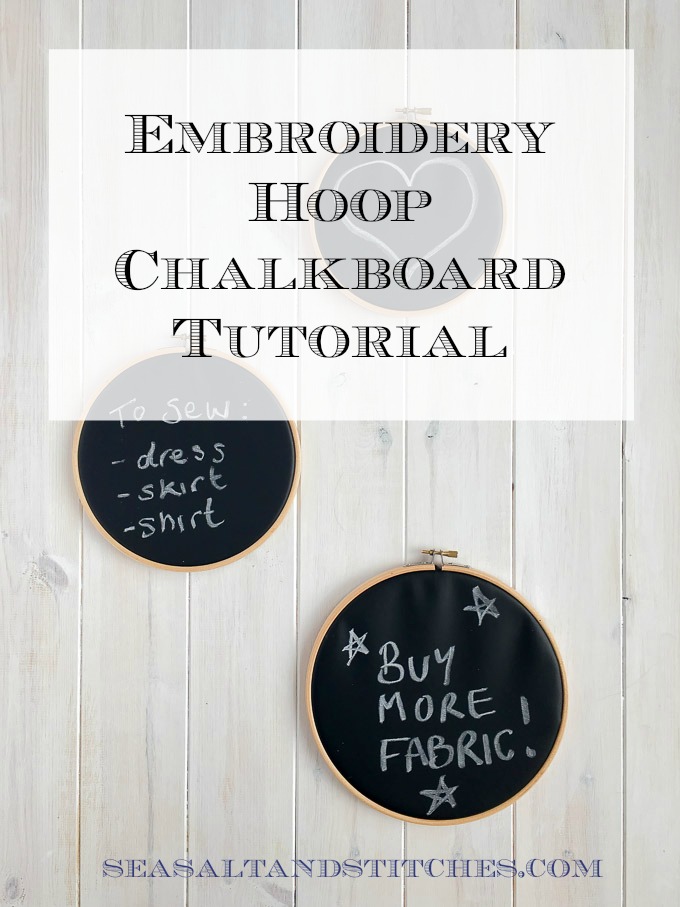
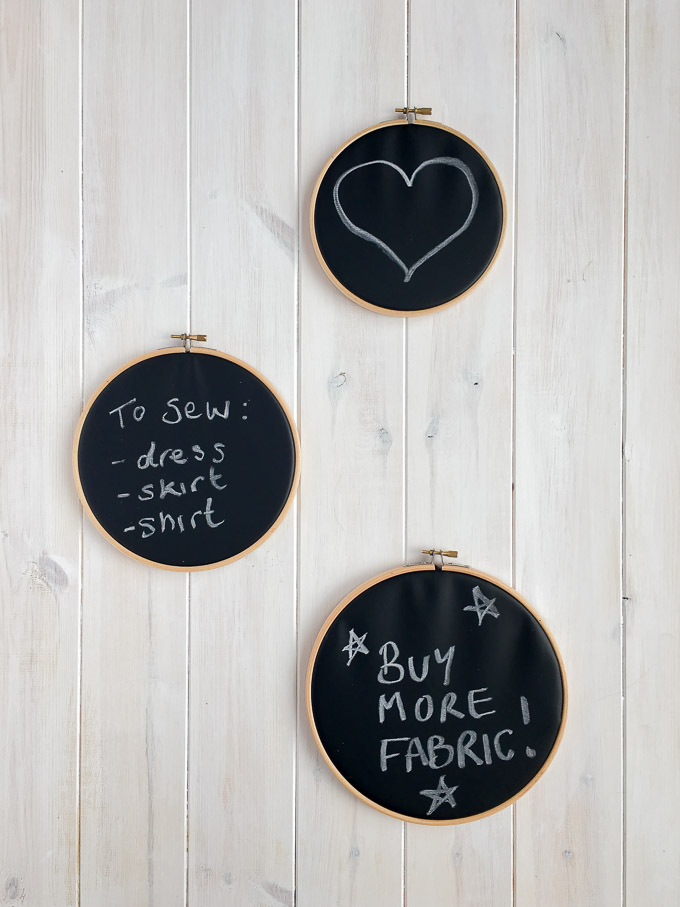
For today’s tutorial I have made the cutest sewing-themed decor, that would look really great on your sewing room walls (if you are lucky enough to have your own sewing room!), or would also be adorable in a kids room. Embroidery hoop chalkboards!
Now, I have taken step-by-step photos, but really, this is the easiest make in the whole world, and only takes a couple of minutes, so an instant gratification project, and I know we all love them!
WHAT YOU WILL NEED:
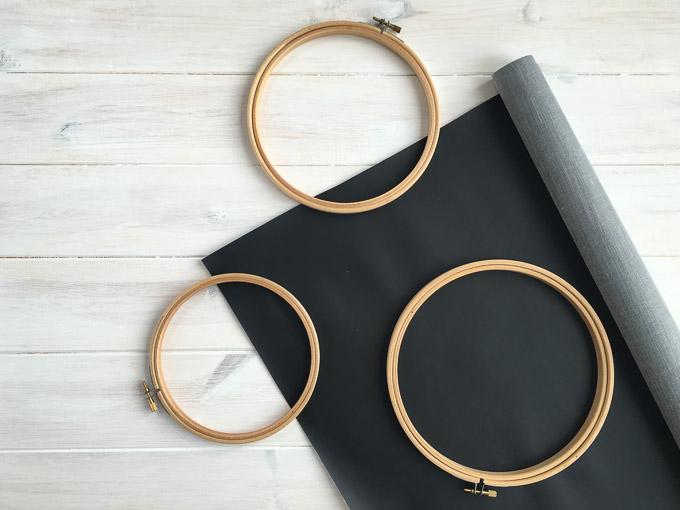
- Wooden embroidery hoops in various sizes. I have used 6″, 7″ and 8″
- Approximately 25cm/10″ strip of chalkboard fabric – but it depends on what size of hoops you go for, just make sure you have about an inch/2.5cm more fabric than the size of your largest hoop
- Scissors
- Chalk!
1. CUT FABRIC
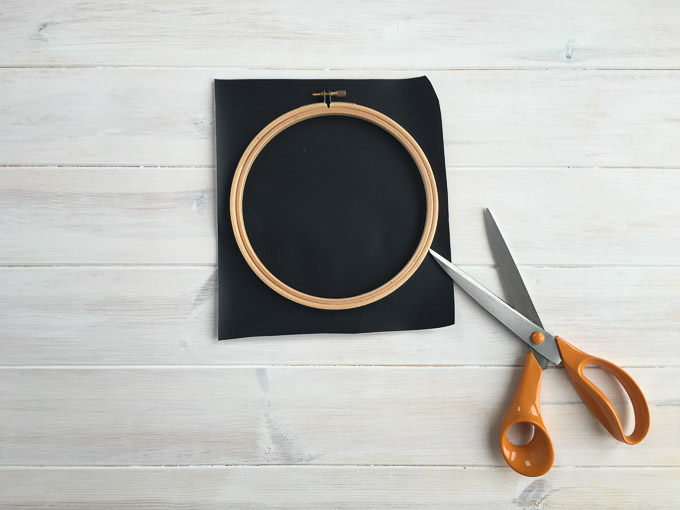
Lay your embroidery hoops on top of your fabric and cut around them, leaving abut 1cm/half an inch extra around the hoop.
2. MOUNT FABRIC IN HOOP
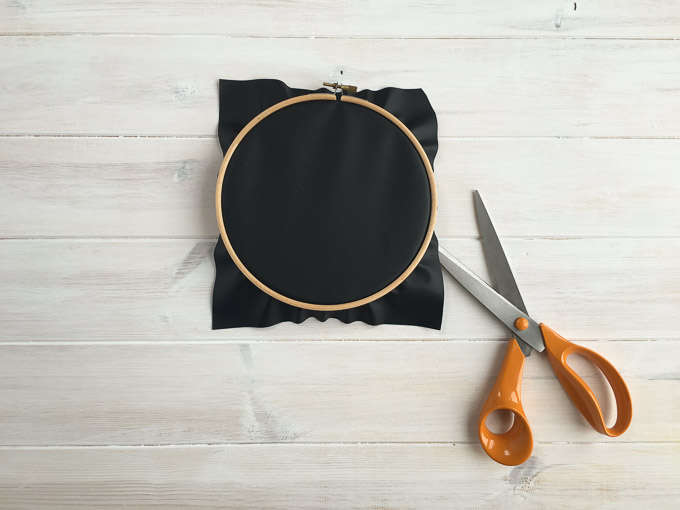
Open your embroidery hoop as much as you can and mount your fabric. When tightening the hoop up again, keep the fabric as taut as possible, especially in the area where the screw is, as it has a tendency to wrinkle here.
Once the hoop is as tight as you can make it (you won’t be able to fully close your hoop due to the thickness of the chalkboard fabric), trim the fabric at the back as close as you can to the frame. You could also use a craft knife to help you shave the fabric as close to the hoop as possible, but please be careful!
3. HANG YOUR WORK AND ENJOY!
Use the little gap left at the top of the hoops to hang your work and then get cracking with your chalk! You can just erase your chalk with a normal chalkboard eraser, but I find it works better if you use something wet (even a wet wipe is good), as it leaves your chalkboard fabric perfectly clean for your next scribble.
And that is you done! Isn’t that the easiest project in the world? Sometimes the simplest things are the most satisfying. I really love these little hoops hanging in my sewing room, they just add such a cute whimsical charm.
I’ll be back with another tutorial using chalkboard fabric in a couple of weeks – one that is a little bit more involved and requires firing up the sewing machine, but I promise you, you are going to love it!


